Quick Export Example
Step-by-Step: Creating Your First Export
1. Set a Date Range and Start Your Export Profile

Navigate to WooCommerce → Export Orders to open the main export interface. This is the Export Now tab.
To define the period for your report, click on the Date range block. Use the pop-up calendar to select the From and To dates for the orders you want to include.
2. Choose an Output Format and Name Your File
Advanced Order Export for WooCommerce supports a wide range of industry-standard file formats. The free version allows you to export to CSV, XML, and PDF.
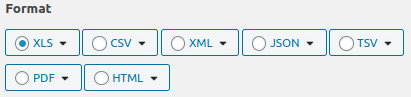
To select your format, find the Format section and choose your preferred option. If you are unsure, CSV is a great universal choice as it can be opened by most spreadsheet applications, including Excel and Google Sheets.
Next, make your export files easy to identify. Locate the Export filename field. The plugin supports dynamic placeholders that will be replaced with actual data during export. For example, changing the filename to orders-{from_date}-to-{to_date} will generate a file named like orders-2024-05-01-to-2024-05-31.csv, making the report’s time period clear at a glance. You can also add a static prefix, such as my-store-yearly-report-{from_date}, to further personalize the naming.

3. Select the Exact Fields to Export
This is where you can remove unnecessary data and keep only the columns you need.
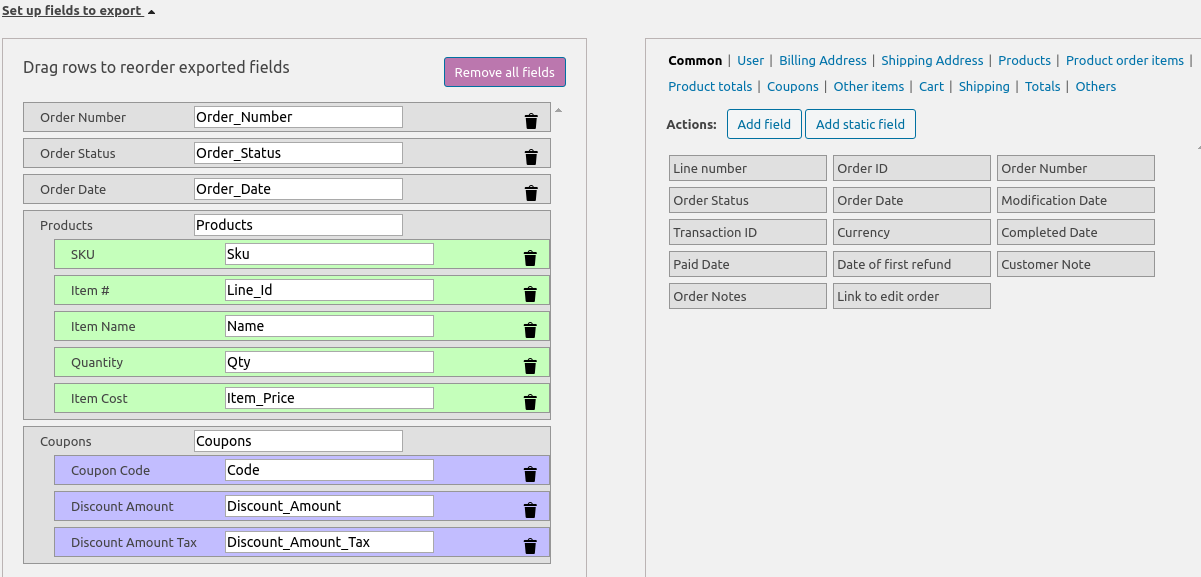
Go to the Set up fields section. On the right, you will see all available fields, grouped into categories like “Order”, “Product”, and “Customer”. To build your report, simply drag & drop the required fields from the right block to the left block.
You can reorder the columns by dragging them up and down, and you can rename column headers by clicking on a field and editing its label. For a clean slate, use the Remove all fields button to clear the current selection and start fresh.
To filter by order status (e.g., only “Completed” or “Processing” orders), locate the Filter by orderblock and select the desired statuses from the dropdown.
4. Preview and Download Your Report
Before creating the final file, use the Preview button. This will generate a sample of your report directly in your browser, allowing you to verify that your data, filters, and field selections are correct.

If the preview looks correct, click the Export button.. Your report will be generated and downloaded to your computer according to your chosen filename and format. The standard export button uses a smart progress bar system that processes orders in batches, which is ideal for most use cases as it helps prevent timeouts during larger exports.