Checkout at Frontend [pro]
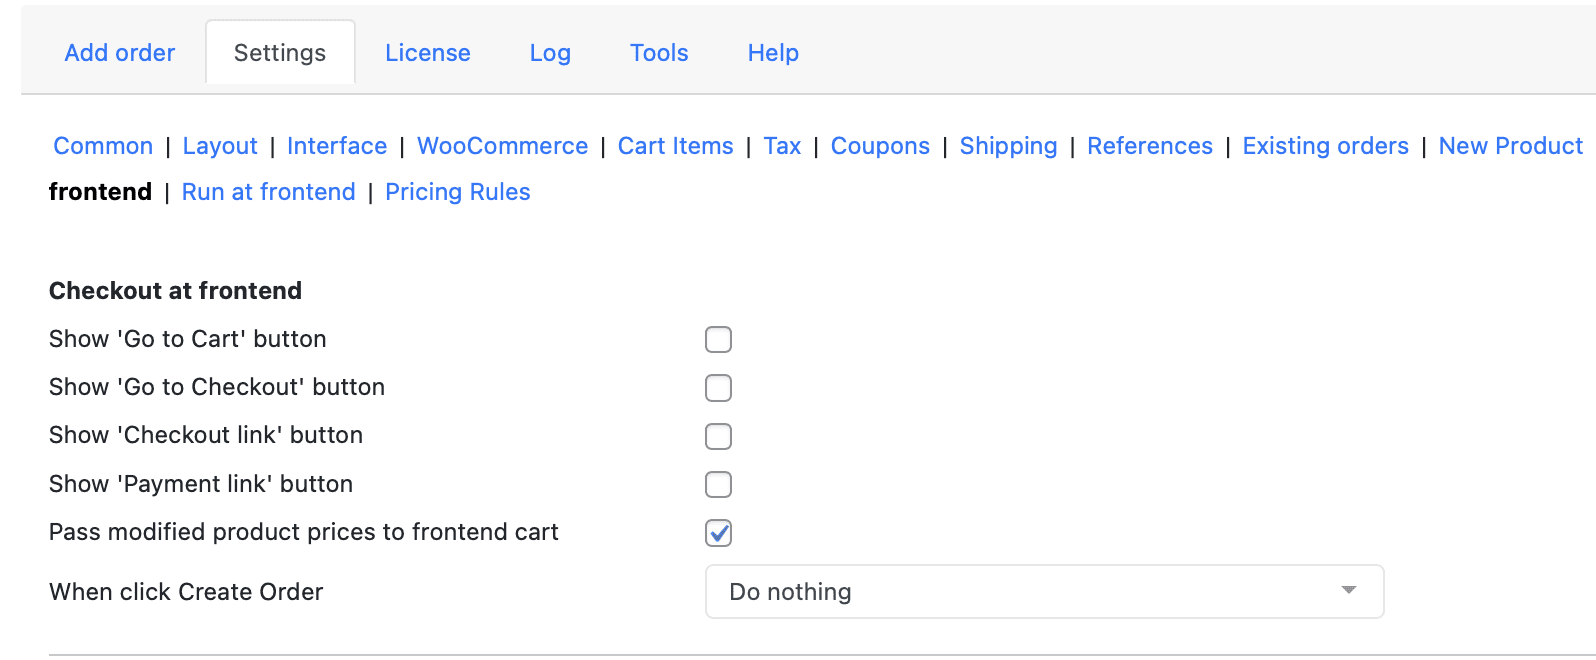
The Checkout at Frontend settings tab (Pro version only) equips phone agents with tools that connect manual orders to the store’s frontend checkout flow. This is essential for payment gateways that require customer interaction, for offering customers the flexibility to pay on their own device, and for ensuring that manually adjusted prices are correctly reflected during final payment. This guide explains each setting, its practical use cases, and how to configure it for a seamless phone‑to‑checkout experience.
Let’s review each option.
These options add buttons to the post‑order toolbar, allowing you to redirect to the frontend cart/checkout or to generate secure payment links.
“Show ‘Go to Cart’ / ‘Go to Checkout’ Button”
- What it does: Adds a button that, when clicked, saves the current order and redirects the user (agent or customer) to the frontend checkout page.
- Why it matters: Many payment gateways (e.g., PayPal Powered by Braintree, Stripe, Authorize.Net) rely on frontend JavaScript, iframes, and customer interaction to process payments. Creating an order from the admin area does not trigger this frontend flow. This button bridges that gap.
- When to enable: Enable it if you use any payment gateway that expects the customer to be on the checkout page to complete the transaction.
“Show ‘Checkout link’ / ‘Payment link’ Button”
- What it does: Adds a button that generates a unique, secure URL for the current order. You can copy this link and send it to the customer via email, SMS, or chat. The customer opens the link, sees their pre‑filled order, and completes payment on their own device.
- Why it matters: This eliminates the need for customers to read their credit card number over the phone. It respects all security and fraud detection rules of your payment gateway because the transaction happens from the customer’s own browser.
- When to enable: Enable it whenever you want to offer a “pay your own way” option, especially for customers who are uncomfortable sharing card details by phone.
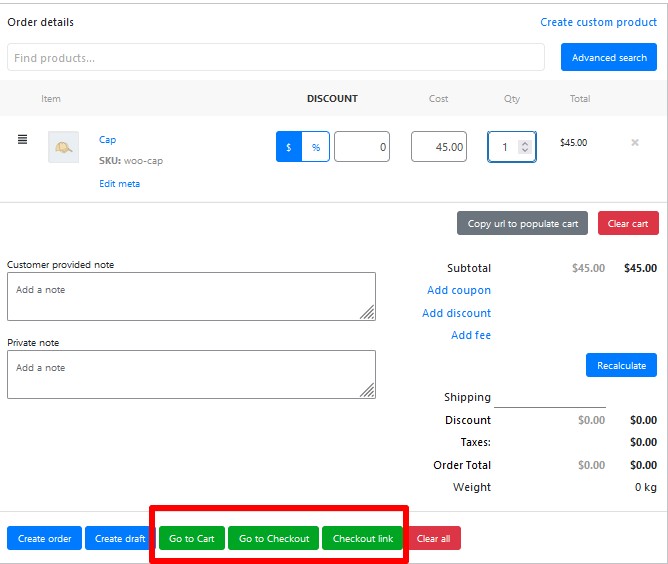
Note: After enabling either button, it will appear in the order toolbar immediately after you click Create order.
Override the “Customer Payment Page” in the Order
When to enable: Enable it if your phone agents are responsible for processing payments over the phone and need to access the frontend payment page directly from the admin order screen.
What it does: By default, WooCommerce generates a Customer payment page link (visible on order details pages). However, this link may be blocked when an administrator clicks it because the admin’s session does not match the customer’s identity. Enabling this option overrides the link so that it works for logged‑in administrators.
Why it matters: Phone agents often need to access the payment page on behalf of the customer – for example, to manually key in a credit card number using a virtual terminal or to verify the payment interface. This override allows that without forcing the agent to log out and log in as the customer.
Pass Modified Product Prices to the Frontend Cart
- What it does: When a phone agent manually overrides a product price (e.g., offering a customer‑specific discount), this setting determines whether that custom price is transferred to the frontend cart and checkout. If enabled, the overridden price is used for all calculations and for the final charge. If disabled, the frontend reverts to the original catalogue price.
- Why it matters: Without this option, any price adjustment made during the phone order would be lost when the customer (or agent) proceeds to the checkout page. The customer would be asked to pay the full catalogue price, leading to confusion and distrust.
- When to enable: Enable this setting if manual price overrides are part of your business model – for example, when negotiating prices for B2B customers, applying a one‑time courtesy discount, or matching a competitor’s price. Disable it if overrides are only used for internal note‑keeping and the charged amount should always be the standard catalogue price.
Practical Workflow Example
Suppose a customer calls to order three items, and the agent offers a 15% discount on one product. The agent builds the order in Phone Orders, overrides the price of that product, and then:
- If the customer wants to pay immediately over the phone using a credit card, the agent clicks the Goto Checkout button (enabled via the Show ‘Go to Cart’/‘Go to Checkout’ option). The agent is redirected to the frontend checkout, where the overridden price is already reflected (provided the Pass modified product prices setting is enabled). The agent enters the customer’s card details and completes the transaction.
- If the customer prefers to pay later from their own device, the agent clicks the Checkout linkbutton, copies the generated URL, and emails it to the customer. The customer opens the link, sees the discounted price, and pays securely.
- If the payment gateway fails to load on the frontend, the agent uses the overridden Customer payment page link (from the order edit screen) to manually launch the payment page.
Summary of Checkout at Frontend Settings
| Setting | Purpose | Recommended State |
|---|---|---|
| Show ‘Go to Cart’/‘Go to Checkout’ button | Adds a button to redirect to the frontend checkout immediately after order creation. | Enable for gateways requiring frontend interaction (Braintree, Stripe, etc.). |
| Show ‘Checkout link’ / ‘Payment link’ button | Generates a secure, shareable URL for the customer to pay on their own device. | Enable for customer‑led payment scenarios. |
| Override the “Customer payment page” in the order | Allows administrators to access the payment page for customer‑assigned orders. | Enable if phone agents process payments over the phone. |
| Pass modified product prices to the frontend cart | Ensures manual price overrides are reflected on the checkout page. | Enable if overrides are intended to change the final charge. |