Short Description
Firstly, let’s look the video you will find out how to create Scheduled job in Advanced Order Export for WooCommerce.
Set up a schedule for exporting reports on the “Scheduled jobs” tab.

You can add a job in two ways:
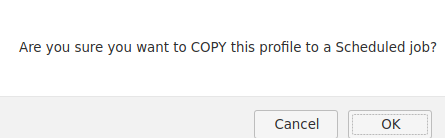
1) Copy the profile from the “Profiles” tab using the “Copy to a Scheduled jobs” button

Click “OK” on this window.

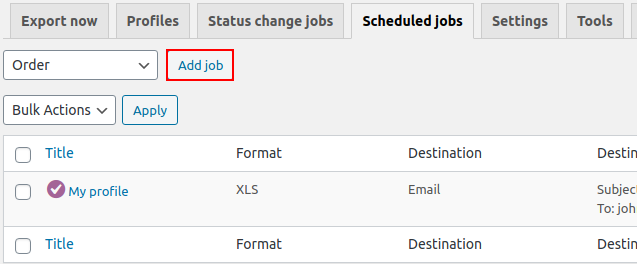
2) On the “Scheduled jobs” tab, click the “Add job” button.
In both cases, finish setting up the scheduled job on this window.

The main elements of the interface of the “Scheduled jobs” tab described here.
Let’s look at the unique functionality of the “Scheduled jobs jobs” tab.
Don’t send empty file. If there were no changes in orders at the specified time of sending, check this option.
Destination block. See the description of the “Destination” block here.
After saving all the settings, the schedule looks like this.
